Making the Blockbuster store from my childhood! Pt.2
Prototyping
Here comes the moment were we can check if what I'm planning actually makes sense. I recreate in Rhino the basic shape I need for the whole structure to get some measurements. I didn't use inches before studying at AUArts, so please understand my insistence in using centimeters to feel more confident in what I'm doing.
1. The dimensions
For the overall piece I'm planning to make it 40 cm in length and 20 cm both in width and height, though the little sign promoting the movies on top of the ceiling will add 6 cm more to its height. With these first measurements as my starting point, I started fitting in the stores in Rhino and constantly used the "Linear dimension" to check the dimensions of everything I was adding.


2. The first model
Now that I had my measurements, I decided to create the templates by hand before creating them in Rhino. And that's how I ended up grabbing all the scrap paper and cardboard I had in my drawers and recycling bin.
It ended up looking a little bit rough, but it actually helped me realized a lot of things. For example, I changed a few measurements the moment I could see in paper how small it would look like, the children's slide feels too big in the space for my liking, the width I gave to the column division for the wall shelves looks so nice that I want to add some width to other parts of this structure as well.
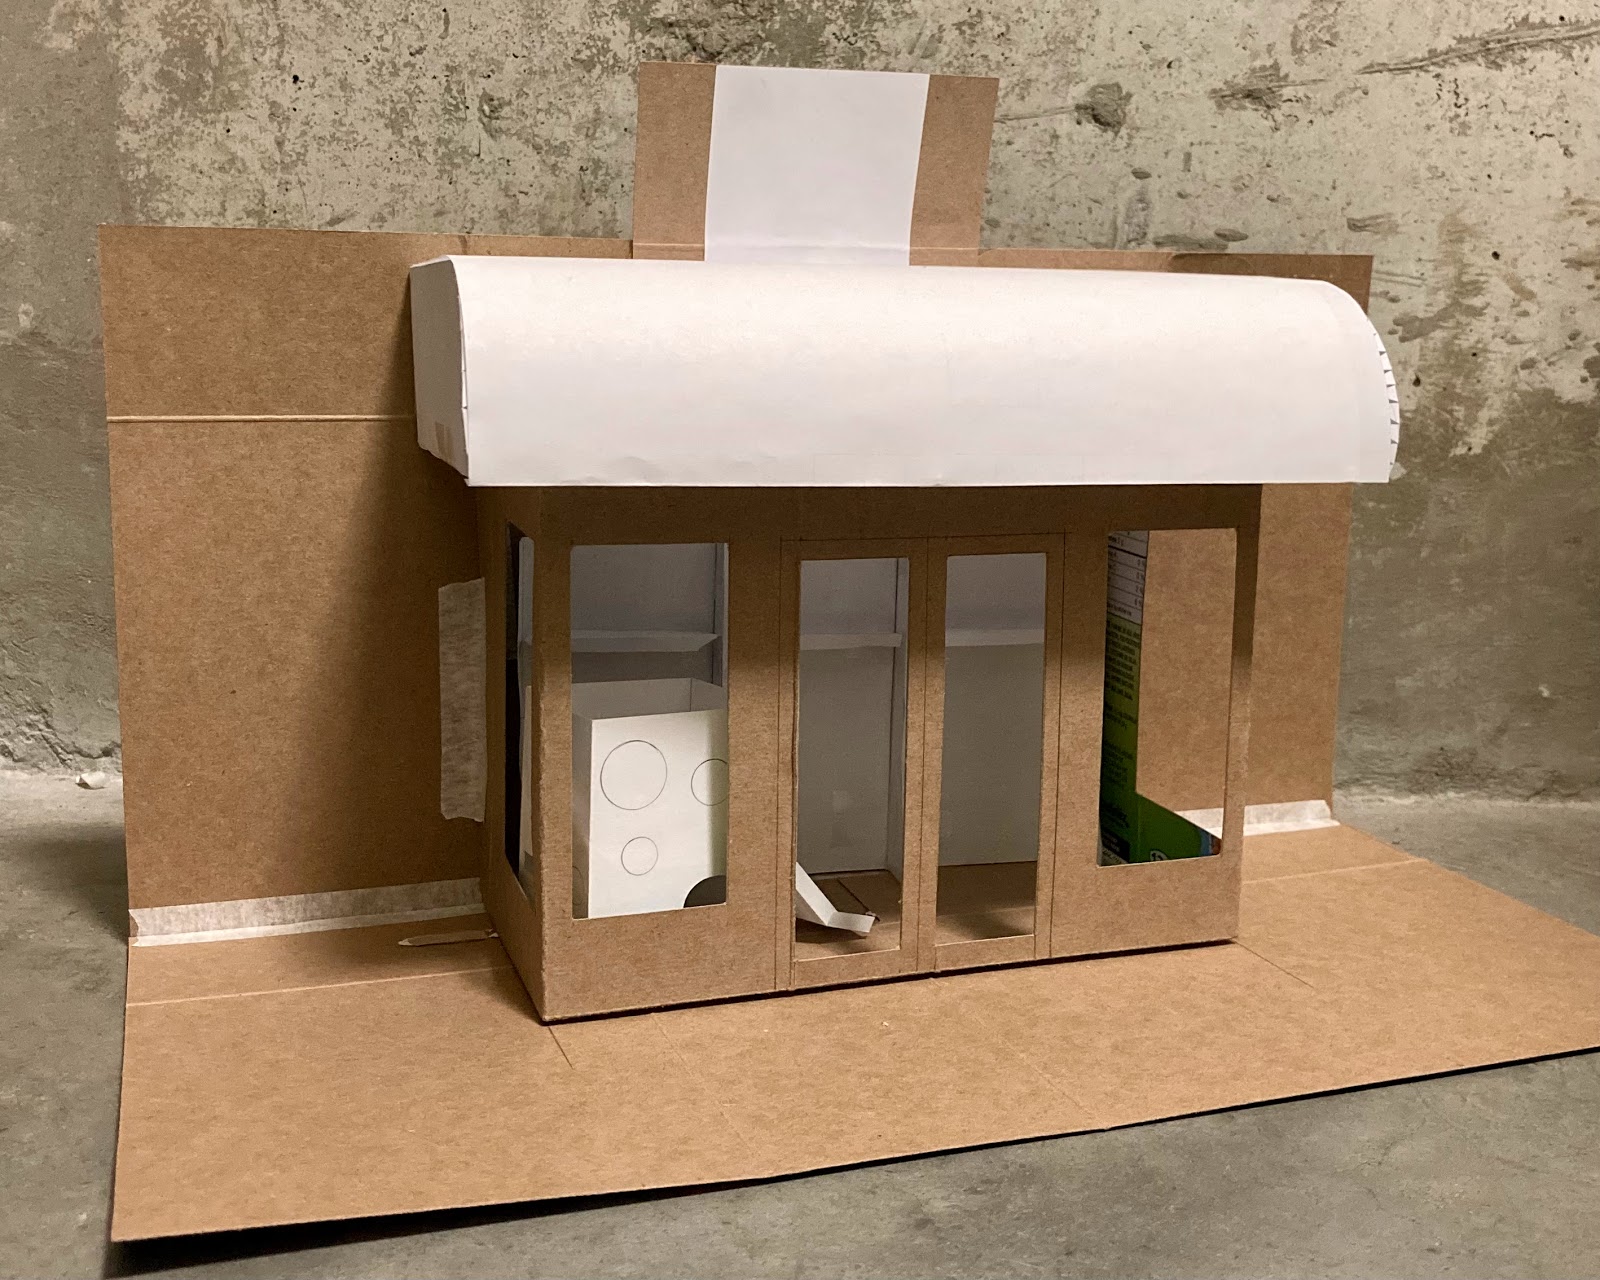

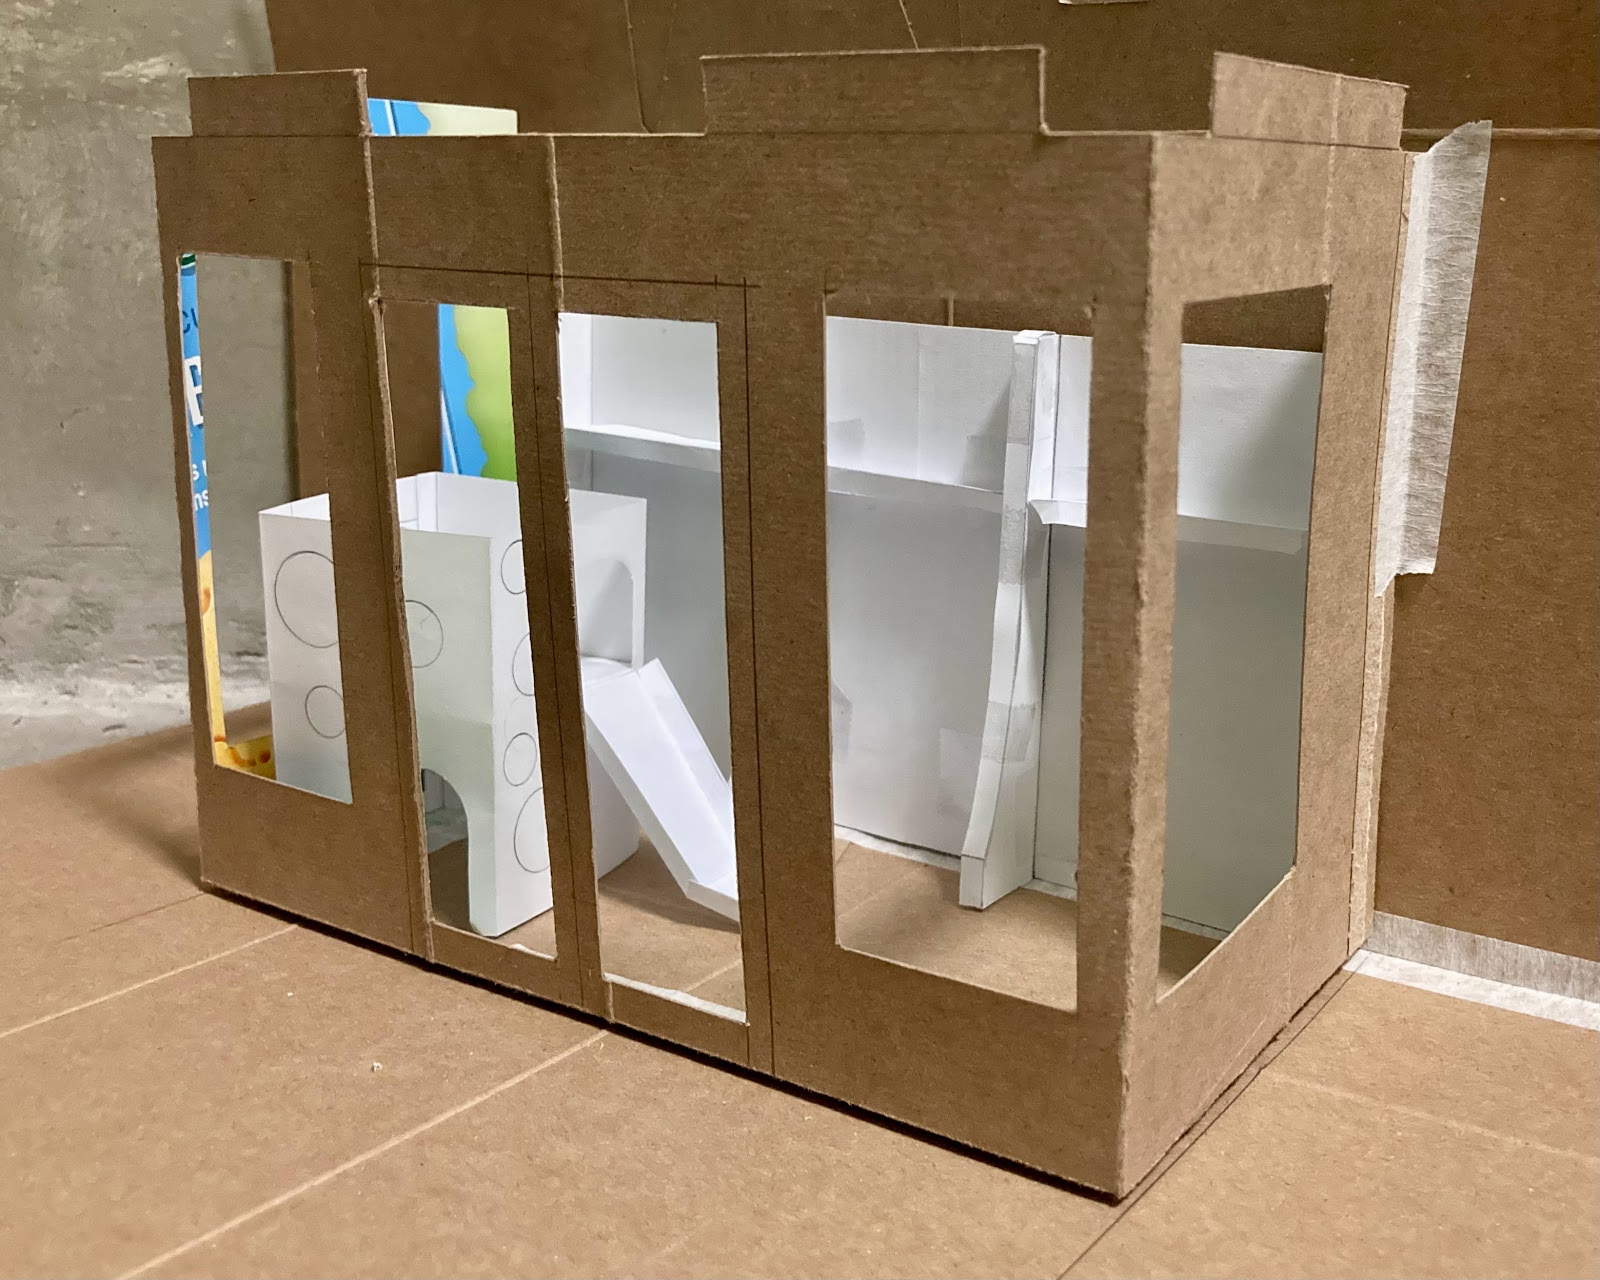

I also realized while making the templates on the spot and folding them, I will have to add tabs I didn't think of at first and change some of the layouts so it would be less complicated to fold and glue on.
However, for a first prototype I would say it was pretty successful, the overall dimensions are just like I imagined them and gave me a clearer idea of how I should further develop my templates. Though I will revisit this prototype and experiment with it the new changes I make from now on.
2. Materials and colors
For the real model I want to use card-stock. It comes in a variety of colours and has the sturdiness I need for this project, but I will also use illustration board as my base to give it some strength.
When it comes to the colour scheme of the piece, I didn't know what I wanted. I was thinking of using only blue and yellow tones for the whole structure (with whites and dark grays), but while it could be aesthetically pleasing, it wouldn’t be accurate since the stores at the sides have reds.
I tried a colour palette generator tool and one of the combinations came up with a red, so I wanted to see what other colours it suggested. Let's just said I wasn't convinced.

That's why I have decided to keep the original colours of each store. The store on the left would be yellow, red, and white. The one on the right would be red and black/dark gray. And my little Blockbuster store will keep its blue and yellow.
And this is how my progress is going so far! Like I said I will keep testing the measurements I'm planning to use, as well as testing some laser cutting with the materials I want to use.


Comments
Post a Comment