Time to rent some movies! Final look of my Paper Blockbuster Video
Now this was a journey! A few cut fingers and a lot of different papers. I mentioned on my last post that I would keep prototyping to see if I should make some changes, and I did.
The base structure and the store
I did both template and material changes for this part of my project. At first I thought I would only use illustration board for the base that would hold the project in place, turns out I used it for the walls of my store as well. And the doors. The original plan was to make the store out of card stock: two pieces glued together with a separation of 5 mm to create some width to the walls. It was way to flimsy, so I made another template for the walls that would now be of illustration board and used the original template of card stock I had to cover those walls.


I also wanted to add a sidewalk, so I made a little rectangle box out of illustration board again to make it sturdy. I made the templates for the store in Rhino, but just like the sidewalk I made other templates right on the paper.
The inside of the store
I thought these part would be the one with the least changes, turns out I was wrong! For the small playground I originally planned to use the same method of making two templates that would be glued together to create some width. That was tricky because of the dimensions and the fact that I used many circles for it. After three prototypes I decided I would once again use illustration board and cover it with paper to make it easier. Later on I added a slide that was simply a rectangle with flaps that I sketched directly on the paper.

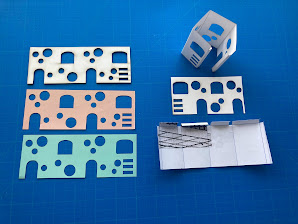


The shelves also had major changes. At first I just made templates for a big rectangle box for the back of the shelves and for the sides some curved columns in Rhino, I then sketched on paper the shelves. After having the Rhino templates cut out and folded them, I realized that I had to cut the big rectangle in three sections to have the two columns in the middle flushed to the wall (as you can see in one of the firsts picture). After glueing them together they bended a little due to the liquid glue, so I glued everything to a piece of paper that I would later on attached to the back wall of the store.


As you can see I also started adding some framing to the windows and added some doors. Like I previously mentioned, I used illustration board for those and then covered them with black paper. And before I attached the shelves I added a blue piece of paper at the bottom to act as a carpet. However the store felt empty, so at last minute I decided to add a counter with a cash register, once again making the templates on the spot instead of Rhino.

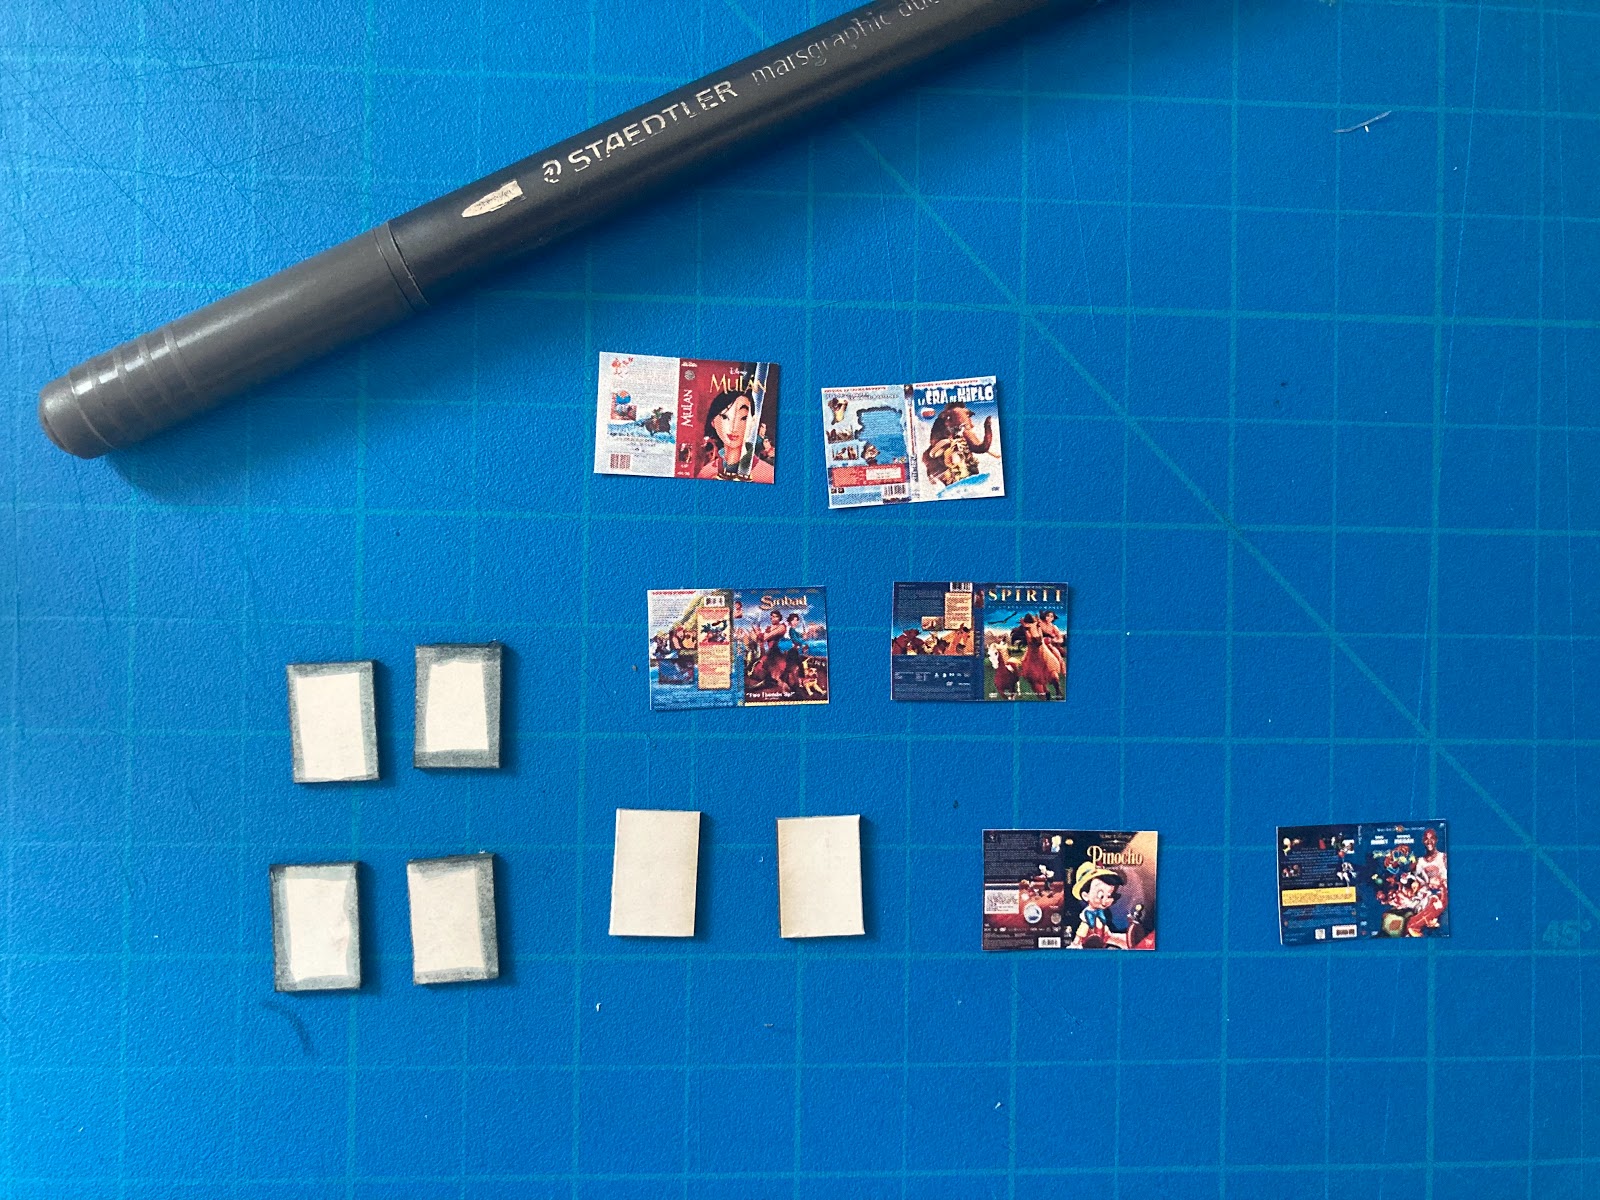
Now the most exciting detail: the movies! I decided to have movies from 2006, so I researched and chose a few of them to start looking for their DVD covers. Surprisingly it wasn't too hard. After collecting them I resized them to 1.4 cm of height and after printing them out I realized I had the perfect material to cover with my mini movie templates. You guessed it, illustration board. It was the perfect fit.
The roof and the signs
I wanted to make the template in Rhino, but after a few prototypes that I made by hand I decided to do it again on the spot. I did this a lot because I felt I had better control of the results I could get, and I did! I assembled the roof and decided to add a whole to be able to have some lights in my stores. The sad news is that the fairylight strings I got are not that strong, so they aren't visible. But the roof is removable and that was my main goal.


For the letters I did use Rhino and the laser cut machine again since I knew they would be too tricky to cut by hand. I decided to have the labels of "Family" and "New Releases" in Spanish because this is a recreation from memory of a store I went as a child.

The final look!
After having the Blockbuster Video store complete, I just made simply cut-outs of paper that would simulate the other two stores at the sides and covered the bottom part of the base with gray for the sidewalk and black for the street.
And here's how the end result came out:


And I'm happy with the result!! However, I'm a little bit of a perfectionist, so there are parts that I feel like would look more polished if I had more double-sided tape or used silicone instead of liquid glue. But those are minor details that I'm trying to not focus on too much, the project itself came out just like I imagined and that's what I'm satisfied with.
Thank you for coming along this journey with me!


Comments
Post a Comment